Probably not the kind of library you were expecting, but one that I find to be pretty handy.
Windows Libraries
A new feature in the much derided Windows Vista was the ability to group folders of like content into libraries. Vista and Windows 7 come pre-loaded with Documents, Music, Picture, and Video libraries. Today we are going to step through making a Source library.
If you are anything like me and I suspect a number of you are then, you have code scattered all across your hard drive. You could move all that source into one folder under Documents and be done with it. However, there are times when you just cannot move the source. Creating a library is a way of managing the clutter.
Create the library
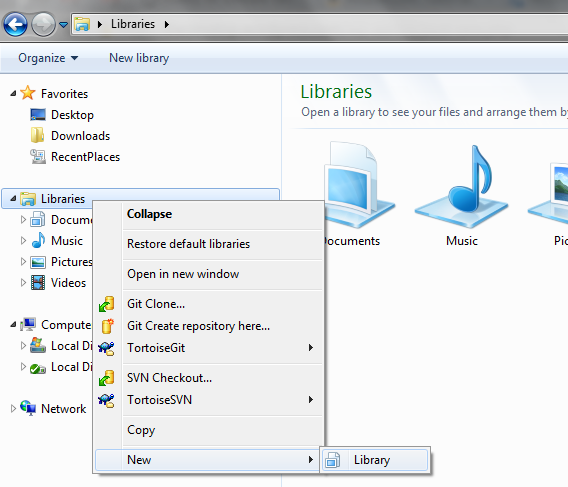
First, let us press Windows + E to open Explorer. Right-click the Libraries folder. Go to New, then click on ‘Library’.
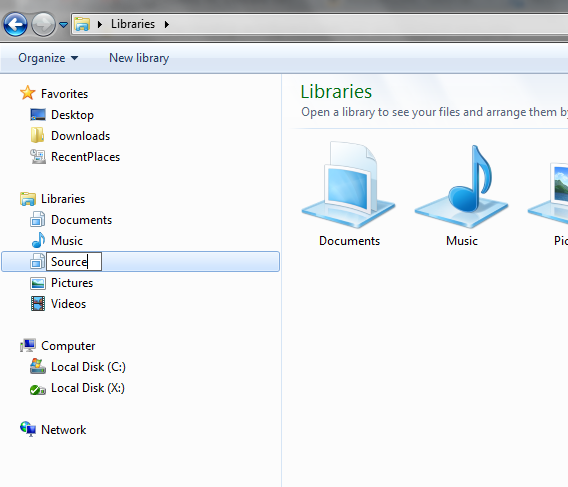
Let’s name it Source..
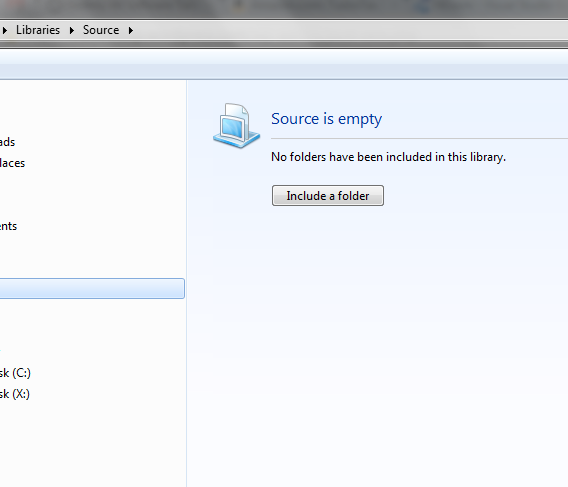
Click on it. As you can see there is not that not much going on yet.
Including your source folders
Now we will go through and add all the source folders from your hard drive.
Right click the Source library and click on ‘Properties’.
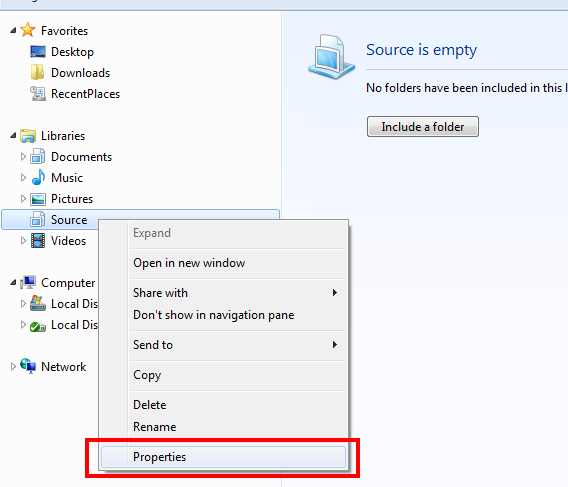
Click on ‘Include a folder…’ and start adding all your source folders.
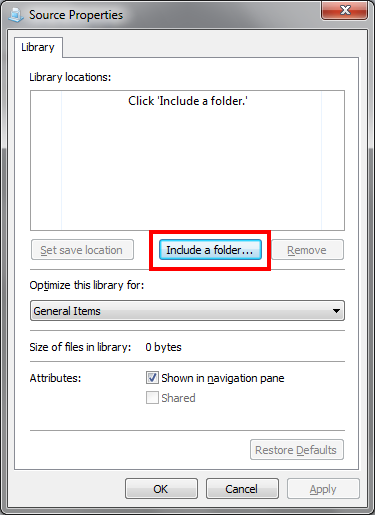
After adding my various code cubbyholes my properties looks like this..

Note that by default the first folder added becomes the ‘save location’. This is the folder that files are stored in when the Source Library folder is selected. If you want to change the default select the folder you want to become the save location then, click the ‘Set save location’ button.

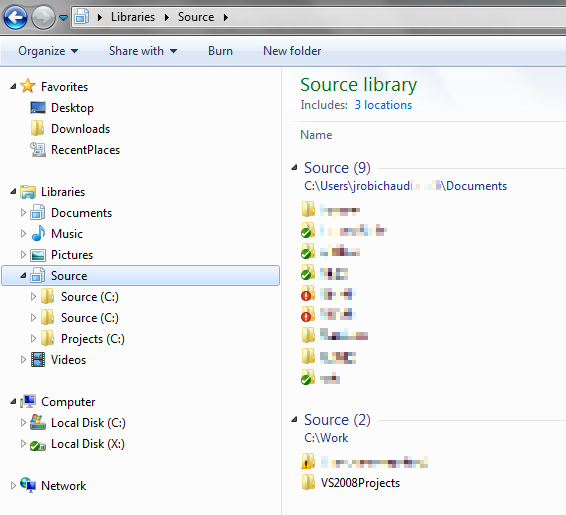
Clean house accomplished!
Yay! Everything is all in one place now. Too bad Windows doesn’t detect included folders with the save name and display more of the path.
I hope you found this useful or at least stopped reading before I wasted too much of your time. =p
This post originally appeared on The DevStop.